One thing that separates WordPress from the rest of the CMS(content management systems) is its user-friendly nature. It makes things super simple, even for a newbie. It doesn’t matter if you have previous experience with development or not.
Due to the low entry barrier and excellent community support, most users prefer WordPress. WordPress uses PHP and needs a server to run the code. In this article, we will discuss how you can download a local server and use WordPress on a localhost.
If you are reading this article, I assume you already know about a local server. Even if you don’t? Don’t worry; I will explain it in brief below. So be with me till the end of the article.
What is a Localhost or a Local Server?
I am pretty sure that you already know that a server is needed to host a website. In networking, a server is known as a host, just like we host our website on the internet. For instance, Bluehost, Namecheap, Siteground, and Hostinger are some hosting-providing companies.
Like these remote servers(also known as virtual servers), localhost is also a server. But the difference is, unlike the remote server, it doesn’t need the internet to run or work. Now you can understand why it is called localhost.
When you call your computer to connect to the server, localhost connects with itself. Generally, this connection is known as loopback. This loopback has the IP address 127.0.0.1. Just like HTTP or HTTPS, the localhost is also a protocol.
How to Install WordPress on a Local Server or Localhost?
The process of installing WordPress on a localhost is straightforward. However, it can look complex if you do it for the first time. On the other hand, if you do it correctly, the process is nothing more than installing software. With that said, let’s see the installation process in detail.
Step 1 . Download and Install WordPress
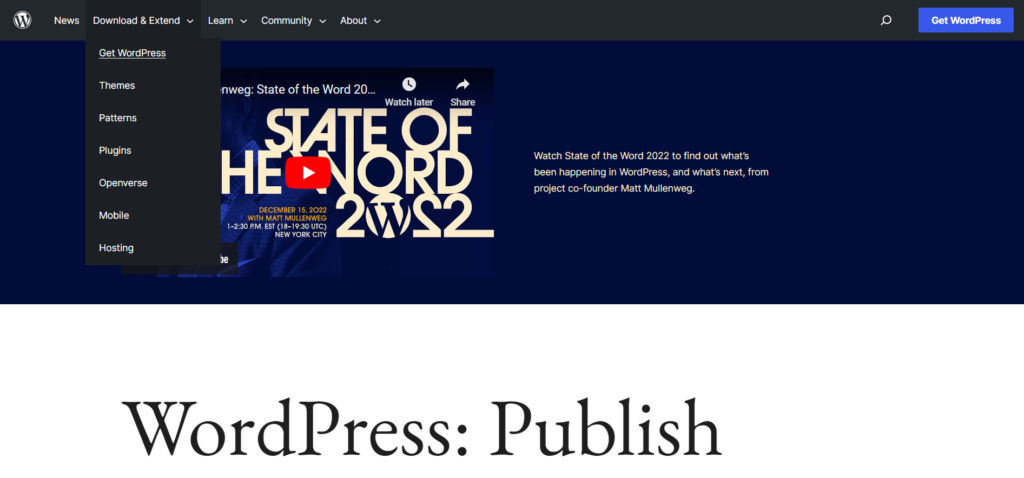
The first step is to download WordPress from the official site. For this, visit the WordPress site wordpress.org first. Now hover on the download and extent tab. From here, click get WordPress and download. Now simply install it. The downloading process will take a few minutes. However, the download time depends on the internet time.
Step 2. Download Xampp/Mampp(local server)
At this moment, you have completed half of the process. Now you need to install the local server. For this example, we will use Xampp. However, you can use other software such as Mampp.
If you don’t know what Xampp/Mampp is? It is a localhost situated on your computer. Using a PHP server and database creates a development environment without the internet.
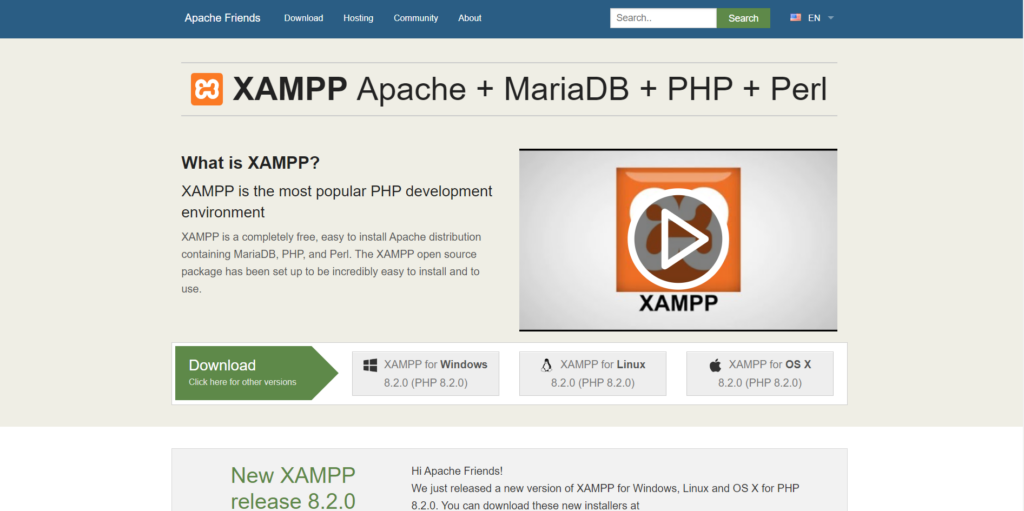
In the first step, download Xampp by going to the official site apachefriends.org. It is available for Windows, Mac, and Linux.
 Once the downloading process gets completed, it will ask you to choose the download path. However, I think you should choose the default option, which will make the process easy.
After the Xampp gets installed, the Xampp control panel will open. You need to start Apache(server) and My SQL (database). Let the start buttons turn green, and then move ahead.
Create The Site
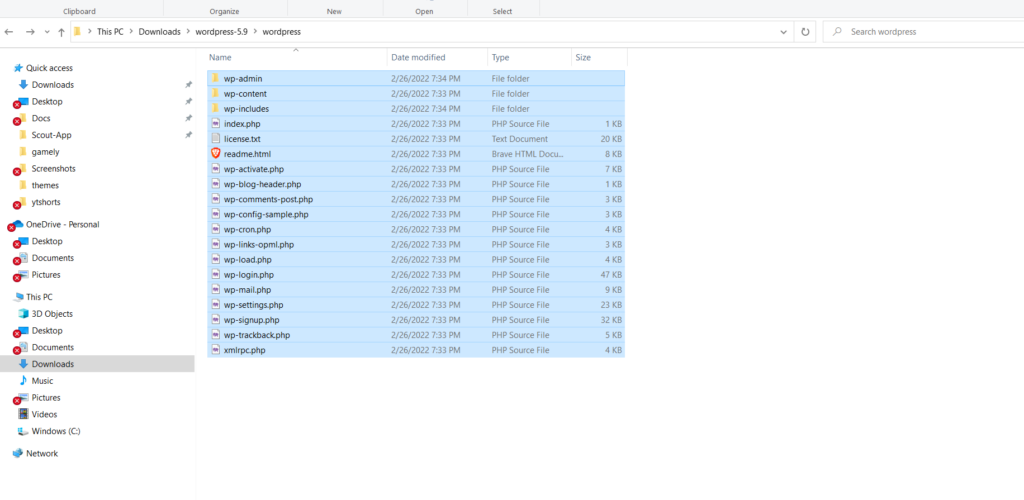
Step -3 Create a folder; it will be your website name(domain). Suppose you created the folder with the newbie name. Now, Copy the folders inside the WordPress folders and paste them into the folder you created earlier. I have shown the exact process in the image below.
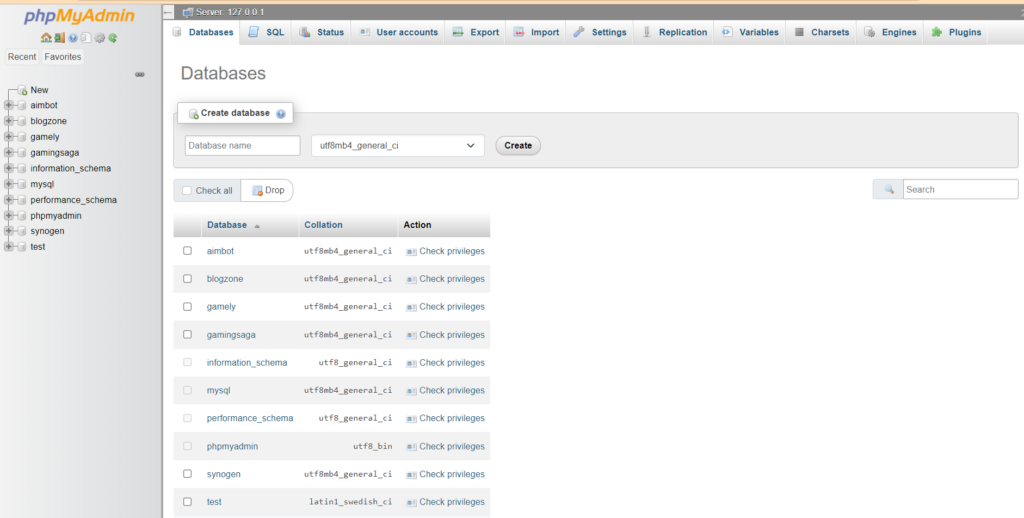
 Step – 4 Create a database for your WordPress Website. You need to visit PHP myadmin by visiting this link http://localhost/phpmyadmin/. Now you can click databases and give it a name. It would be best if you remembered this name, so copy it somewhere.
 Now that you have your server, database, and site ready, you need to set up your site. For this, click on the search tab and type localhost/WordPress.
Here beginners make a mistake, so they can’t create their localhost WordPress site. Here type the site name that you created. I will type localhost/newbie because my website folder name is newbie. If done correctly, it will open the setup screen, which looks like this.
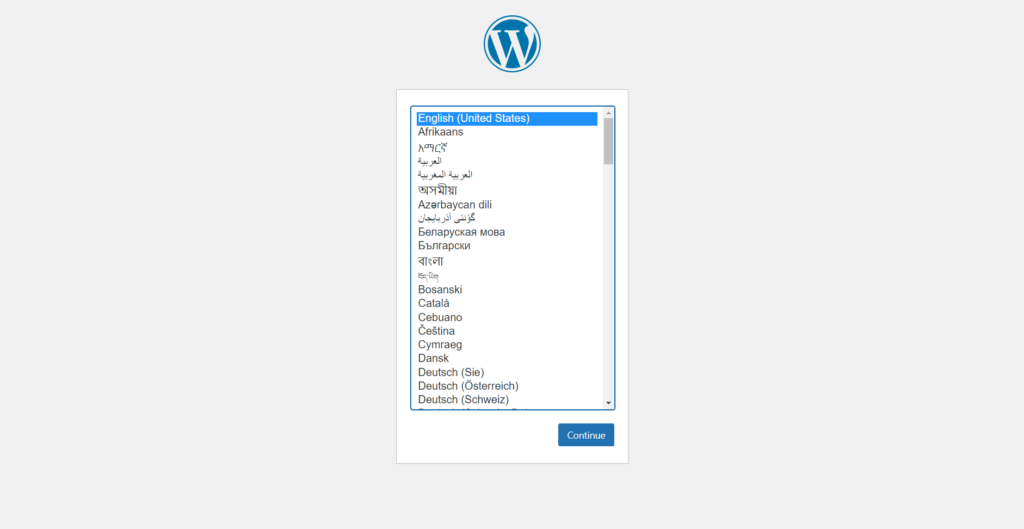 Now you can just fill in all the given fields by looking at the image. After you complete this, please go ahead and fill in the details about your site.
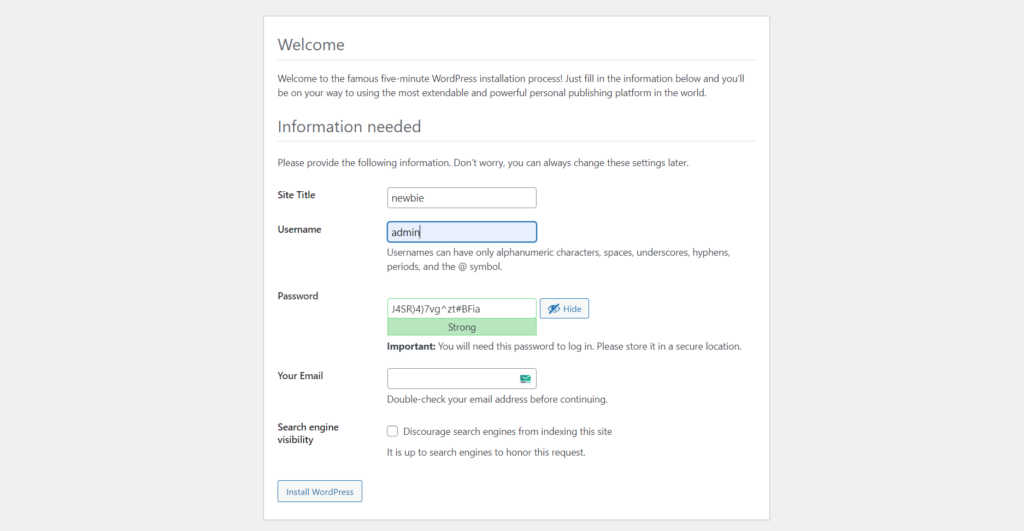
Congratulations! your new WordPress site is ready. Now you can customize it as you want.
